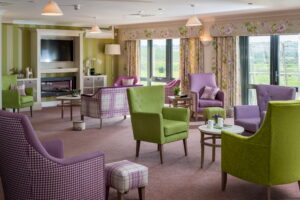
Photographing interiors needs a good balance of artistic skill and technical know-how to show-off any room at its best. Here at Lindsay Fowke Photography we take great pride in our interiors and it’s a sector of work we truly enjoy. With 15 years of experience, this enables us to be prepared for all situations with which we are faced.
Kitchen photography is sometimes referred to as its own division within the interior sector, making it a unique and specific service to some. There are a few things you need to get right to capture a good interior; think angles and lines, especially in the kitchen, and lighting. The kitchen is such an integral part of our home. It’s a room that interior designers, architects, builders and even homeowners want to be proud of, so presenting kitchens well visually allows their stories to be told.

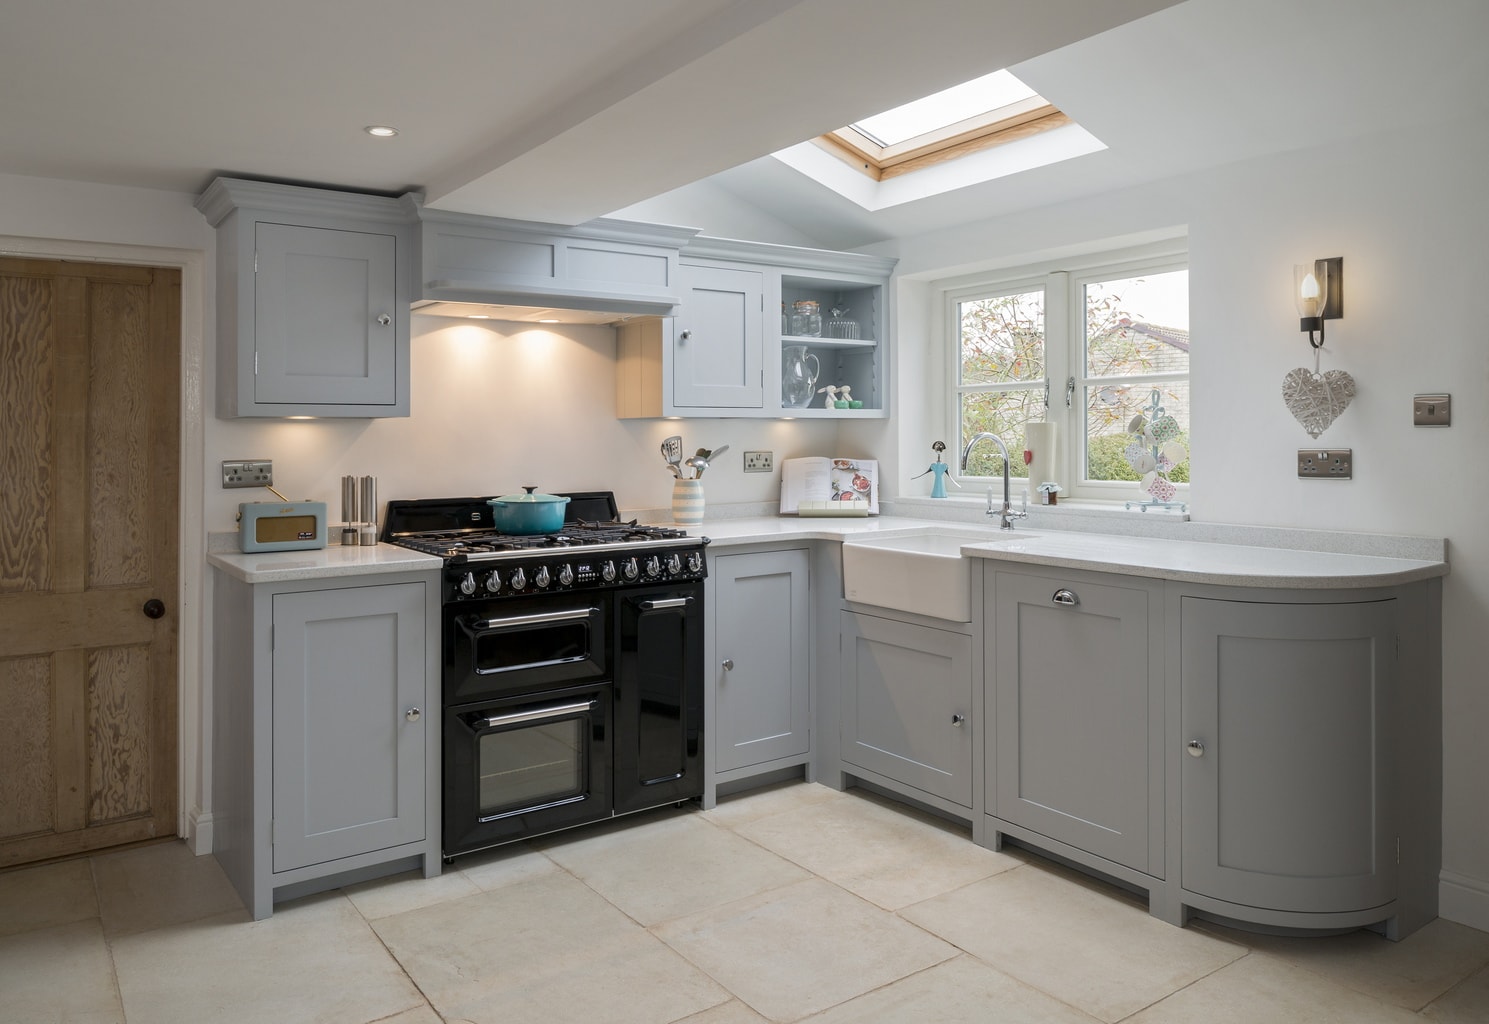
Having the right equipment is important, though a professional interior photographer also has the creative eye to visualise the right image. I would like to share some of my experience and my knowledge about the equipment which will help when photographing interiors, and in this case kitchen photography.
You’ll need a camera, preferably one with a flip screen so you can see exactly what’s in shot. Although a professional photographer would go the next step and tether a laptop to the camera. Regarding lenses, I would recommend anything between 24mm to 35mm. Try and avoid extreme wide-angle lenses, as you could suffer from distorted edges. The next must have is a tripod. Handheld is not wrong, but to get the best results, you’ll need to allow for long exposures. A tripod will eliminate any shakes or vibrations that could occur. Having a set-up tripod also allows you time to see the detail, like a stray mug that’s been missed in the tidy up.
In most cases the natural, ambient light in kitchens should be enough to expose your image. However, there are times when additional lighting or studio lighting is necessary in dim or poorly-lit kitchens. The additional lighting should never overpower ambient light, because ambient lighting is the best natural light source you can get. If your camera has a built-in flash, please refrain from using it. The light source here will be too harsh and is the worst thing for your image. If you have no other options and the kitchen needs supplementary light, then try bracketing your exposure on 3 or 5 shots to make an HDR image in post-production. I will cover this topic at a later date.
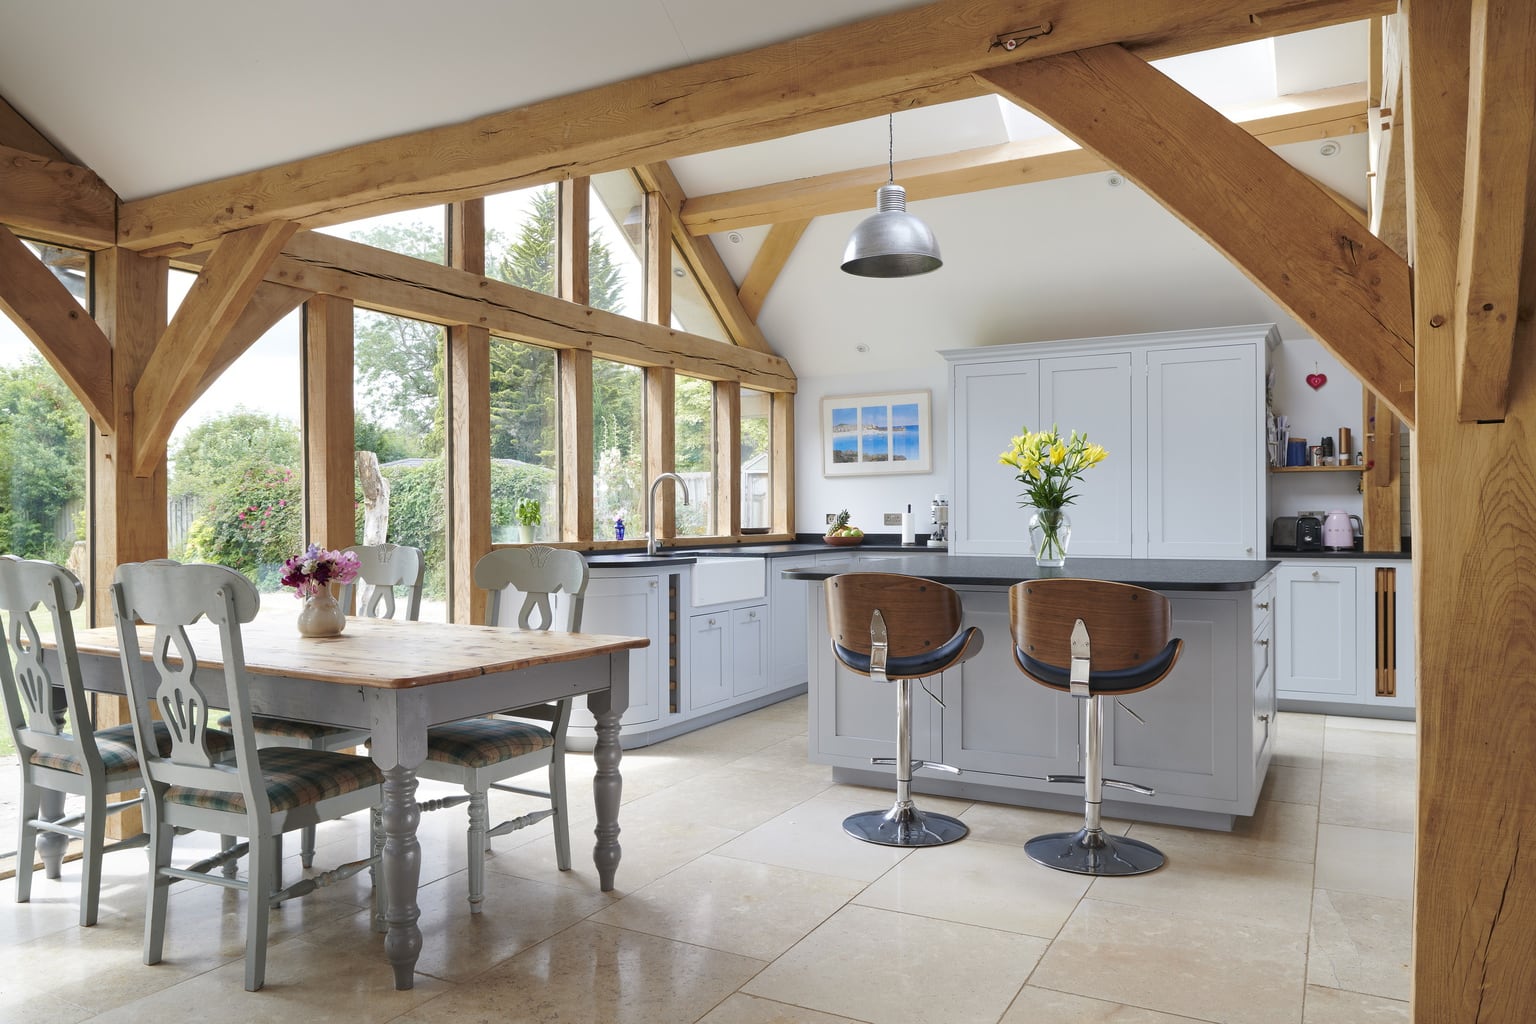
Light bounces off all sorts of surfaces and especially in contemporary kitchens with lots of high gloss counters and chrome fittings. If you encounter reflective glass and cabinets, then try adding a polarising filter. The filter will alter light waves and will reduce glare on shiny surfaces.
Finally, don’t forget to have a duster and cleaning aids to hand – you never know when you’ll need them.
Summing up, my five quick tips for kitchen photography are:
- Always use a tripod, preferably at waist level.
- Shoot wide, but not too wide, if you want to avoid distortion on the edges. 24mm – 35mm is highly recommended.
- Get rid of any clutter on the side and floors to keep the shot clean.
- Avoid using room lights as much as possible (the exception would be under lighting of cabinets) and instead rely on natural ambient light.
- If you are able to bracket different exposures, this will help tremendously in post-production, especially when faced with a dark kitchen interior or poor natural light.
Of course, if you’d rather entrust shots of your interiors to a Bristol Photographer with years of experience in commercial & advertising photography, then please get in touch.
Kitchen photography is one of my specialties, and I’m not restricted just to grey kitchens!